Many website and app publishers still depend on shortcut monetization methods—templated sites, misleading traffic, fake apps, and wrong ad placements. This article explains why these shortcuts fail, what Google really expects, and how publishers can shift toward long-term revenue strategies with high-quality ideas like job portals, news sites, AI tool platforms, and more.
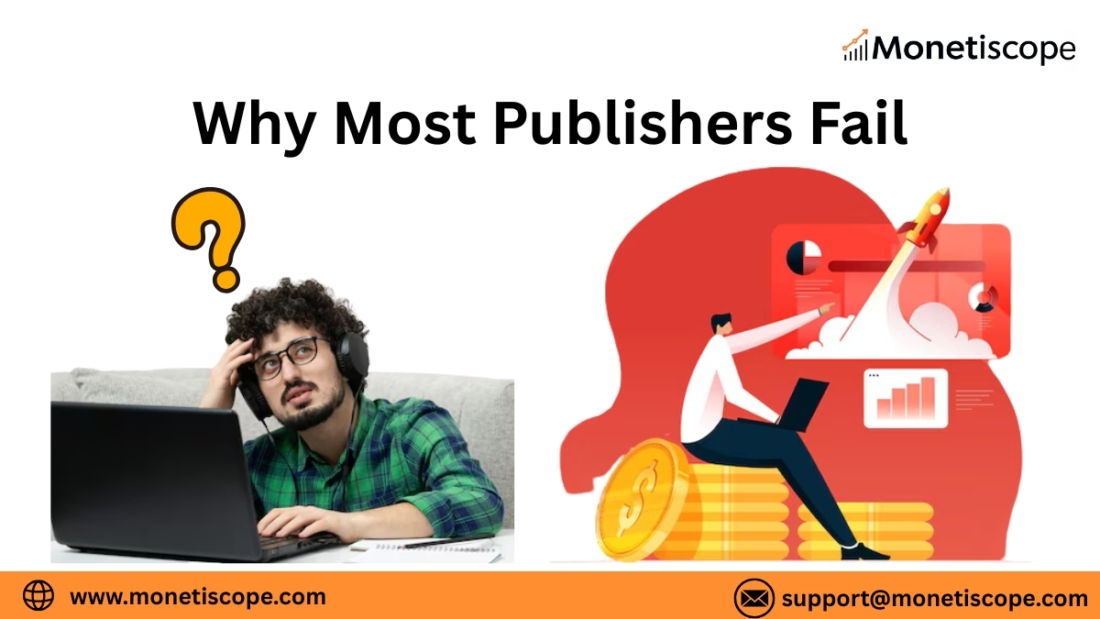
Shortcut Monetization Is Everywhere… But It’s Slowly Killing Publisher Growth
Every few months we see a new wave of publishers entering the market—some with websites, some with Android and iOS apps, and a few even shifting into CTV. And most of them arrive with the same mindset:
“Let me find a shortcut.”
“Let me create something that starts earning tomorrow.”
“Content creation is hard… is there any ‘hack’ for quick revenue?”
This mindset is the biggest reason why most publishers fail within their first year. What’s more disappointing is that many of them don’t even realize how limited their strategy is until they face policy violations, low eCPM, or account termination.
Let’s be honest: the digital monetization ecosystem is evolving fast. Google is smarter, users are smarter, and platforms have become extremely strict. Yet many publishers still depend on shortcuts—templated websites, auto-generated articles, copied news, fake utility apps, HTML5 template sites with misleading UX, or even the classic “VPN + status downloader + fake video call” app trio.
On paper, these shortcuts look easy. In real life, they collapse faster than they scale.
This article dives deep into why shortcut monetization doesn’t work, why website and app publishers fall into this trap, and what long-term revenue strategies actually make sense in 2025 and beyond.
Why Shortcut Monetization Became So Popular Among Website Publishers
A large number of new website publishers today start with:
- a pre-made template
- a few scraped or copied articles
- a traffic trick (Pinterest bots, FB groups spam, or clickbait popups)
- and a dream to get AdSense or AdX approval
It’s not entirely their fault. The internet is full of YouTube tutorials teaching:
“Make a website in 10 minutes and earn $500 per day.”
“No writing needed. Just copy and paste.”
“Use this auto-blog tool and generate 100 posts per day.”
This dream is convincing, but it’s also deeply misleading.
Shortcut monetization became popular because it promises low effort, quick output. But what publishers don’t realize is that Google already knows these patterns extremely well. Every page layout similarity, every HTML5 template, every AI-spun article… everything is detectable.
The real problem:
Publishers stop thinking creatively.
They stop analyzing user intent.
They stop innovating and just want “fast money.”
The result?
Low traffic → low engagement → policy violations → account closure → frustration → quitting.
App Publishers Are Doing the Same Mistakes — Just on a Bigger Scale
If we talk about app publishers, the shortcut mindset is almost identical. The most common shortcut apps include:
- VPN apps with zero backend logic
- Status downloader apps
- “Fake” video calling apps (simulated calls)
- Flashlight apps
- PDF converter clones
- Horoscope generators
- Free music downloaders (highly risky)
These apps are created just to generate installs and run ads. The concept is simple:
“People search for these terms, so let’s make a quick app.”
But here’s the problem — the Play Store is already filled with clones. When an app looks like a replica of another, users trust it less, spend less time inside it, and uninstall quickly. This leads to:
- Low engagement
- Low retention
- Low ARPU
- High invalid traffic risk
- High accidently-clicked ads
- And high uninstall compression which hurts ASO
To make revenue, some publishers place ads aggressively, sometimes forcing rewarded ads or inserting interstitials at the wrong triggers. Google flags these behaviors quickly because they fall under “misleading interaction” and “unexpected ad behavior,” which can get AdMob or AdX disabled permanently.
These publishers think they’re being smart… but actually they’re putting their entire monetization future at risk.
Why Shortcut Monetization Doesn’t Work Anymore (and Never Really Did)
Shortcut monetization might give quick results at times, but it never sustains. Here’s why:
1. Google policies became extremely strict
Whether it’s AdSense, AdMob, or AdX, Google considers user experience first. Misleading layouts, accidental clicks, or ad-heavy pages are now flagged automatically.
2. Users aren’t stupid anymore
Today’s users instantly detect low-quality sites or apps. They return back in seconds—sometimes even before the page loads.
3. Market saturation killed ‘cheap tricks’
HTML5 template sites used to work years ago. Now hundreds of thousands of similar sites exist. There’s no uniqueness, no value.
4. SEO is smarter than old-school hacks
Google Search improves every few months. AI-generated content, spun articles, and templated text no longer rank easily.
5. Advertisers demand premium placements
Brands now choose inventory based on viewability, engagement, and quality. Template-based sites usually fail here.
6. Account bans wipe everything
A shortcut approach might give fast revenue, but a policy violation can wipe out everything in one night.
Shortcut monetization gives dopamine, not sustainable income.
The Mentality Behind Shortcuts: “Nothing New Is Left”
Many publishers say:
“Everything is saturated.”
“No new idea is left.”
“People don’t read articles anymore.”
“Apps don’t earn unless it’s a big brand.”
But this isn’t true. The real issue is lack of research and originality.
People still read articles—just not low-quality ones.
People still use apps—just not copy-paste ones.
People still want new websites—just not template clones.
There are thousands of opportunities waiting, but publishers need patience, effort, and innovation.
Shortcut Monetization vs Long-Term Revenue Strategies (Comparison Table)
| Factor | Shortcut Monetization | Long-Term Revenue Strategy |
| Effort | Very low | Moderate to high |
| Revenue stability | Poor | Strong |
| Policy violations | Very high | Very low |
| SEO performance | Weak | Strong |
| User engagement | Minimal | High |
| Reputation | Non-existent | Strong |
| Future scope | None | High |
| AdX/AdSense approval chances | Very low | Very high |
| Lifetime value | Short-lived | Long-lasting |
The table makes it obvious — shortcuts fail, long-term wins.
Myths vs Truths About Website & App Monetization
Myth 1: “People don’t read articles anymore.”
Truth:
People don’t read low-quality articles. High-quality content still attracts millions of readers daily.
Myth 2: “All app categories are saturated.”
Truth:
Users still want helpful apps with real value. It’s only saturated if you copy others.
Myth 3: “Quick tricks help in early growth.”
Truth:
Quick tricks work temporarily but lead to permanent account issues.
Myth 4: “Rewarded ads increase eCPM so place them anywhere.”
Truth:
Wrong rewarded placements are a direct policy violation and can get your account disabled instantly.
Myth 5: “Google only approves big publishers.”
Truth:
Google approves high-quality publishers, not necessarily big ones.
Real Long-Term Opportunities for Website Publishers (2025 and Beyond)
Here’s where publishers should focus instead of chasing shortcuts.
1. Jobs & Career Platforms
Jobs will always be in demand. Local job sites, niche job boards, skill-based hiring sites — all have high search demand.
2. News Portals (Local, Hyperlocal, or Niche)
News still ranks extremely well when done with consistency and originality.
3. AI Tools Directory
People search for ready-to-use AI tools daily. An AI tools aggregator or niche tool platform works well.
4. Prompt-Learning Websites
Creators, marketers, designers all want prompts. This category has huge potential.
5. How-to Guides and Tutorials
Educational content always wins. Evergreen niche tutorials drive stable traffic.
6. Micro-Niche Sites
Less competition. High value. Long-term potential.
7. Local Community Sites (City Guides)
Local content is growing fast because it’s less saturated.
8. Productivity Tools (Online Apps)
Calculators, converters, checklists, planners — these attract organic traffic daily.
9. Health & Wellness Advice Sites (Non-medical)
Workouts, diets, yoga, home remedies — extremely high demand when done responsibly.
Long-Term Opportunities for App Publishers
1. Utility Apps With Real Functionality
Not fake VPNs or random downloaders — but real utility tools that provide value.
2. AI-Based Apps
AI is exploding. Chat-based apps, AI editing apps, AI voiceovers — users want them.
3. Finance & Budgeting Tools
India, US, and EU markets have huge demand for expense managers and loan calculators.
4. Kids’ Learning Apps
Parents love educational apps with safe content.
5. Mental Wellness Apps
Meditation, journaling, focus timers — all are high-retention ideas.
6. Local Services Apps
Hyperlocal apps for service discovery or booking are growing fast.
7. Language Learning Apps
Multi-language audiences need learning tools.
8. Gamified Learning Apps
Skill-based fun learning is always trending.
9. Event-Based Apps
Festivals, seasonal shopping, exam preparation — huge opportunity windows.
Shortcut apps die in weeks. Valuable apps survive for years.
A Straightforward Message to Publishers
If you’re still building templated websites or creating cloned apps just to earn fast money, understand one thing:
Google is years ahead of your shortcut method.
The algorithms detect bad patterns much faster than you can imagine.
This is not 2015 anymore.
Quality is the only real ranking factor today.
Originality is the only real growth strategy.
User trust is the only real monetization asset.
Shortcuts might give a few weeks of satisfaction.
Long-term strategies build multi-year revenue.
Why Unique Content and Unique Ideas Matter Now More Than Ever
Today’s digital ecosystem rewards original thinkers. Google Discover especially loves fresh perspectives, unique content, and powerful narratives. Users prefer websites and apps that feel authentic, not robotic.
If publishers invest their time wisely, they can build something valuable:
- A site that ranks for years
- An app that users recommend
- A brand that advertisers trust
- A platform that survives Google updates
- A real business, not a shortcut
The choice is simple, but the commitment is hard.
Final Thoughts: Shortcuts Fade, Quality Wins
The shortcuts are tempting. They look like an easier route. But every publisher who grew sustainably—every single one—did it with consistency, originality, and patience.
Shortcut monetization gives you speed.
Long-term strategy gives you stability.
If your goal is to earn for a month, shortcuts will work.
If your goal is to build a future, shortcuts will destroy you.
Think long-term.
Build something real.
Give users what they actually need.
That’s how publishers win — in 2025, 2030, and beyond.